Based in Hayden, ID, Unitech Composites and Structures (UCS) has been fabricating complex components for fixed and rotary wing aircraft since 1979. The company began as a mom-and-pop startup, but today it produces and ships 14,000 composite parts per month—making it one of the largest such suppliers for the aerospace industry. In 2009, UCS was acquired by the AGC Aerospace & Defense Composites and Structures Group.
Most parts made by UCS undergo stringent inspection to make sure they meet dimensional and structural specifications. For many years, the company used hand tools for measurements and performed manual calculations. But by 2012, UCS recognized it needed an inspection method compatible with digital product definition (DPD) and model-based design (MBD), which were increasingly being used by their customers.
“Our parts and assemblies are installed in high-performance aircraft, and there is little room for error,” explains Alan L. Haase, president and CEO of AGC. “Making sure they meet and exceed customer specifications can quite literally be the difference in a successful flight or mission for our armed forces.”
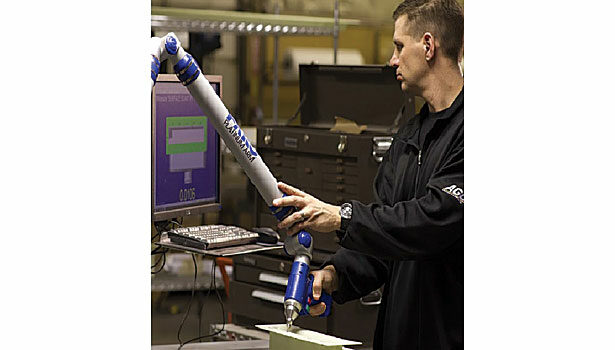
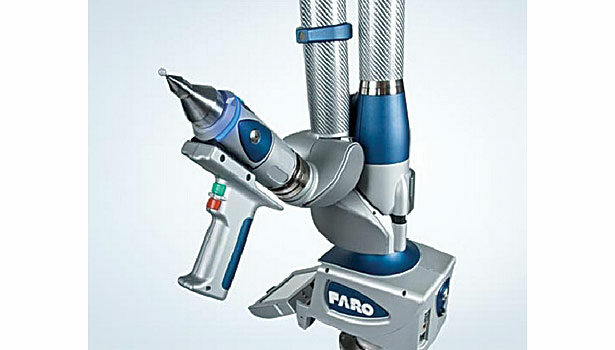
Tom Van Der Griend, director of quality for United Composites and Structures, says the company considered laser scanners, but didn’t like that they require a considerable amount of manual effort to perform a true position inspection. Instead, UCS selected the FaroArm, a portable coordinate measuring machine (CMM) made by FARO Technologies Inc.
Available in six- or seven-axis versions, the FaroArm greatly increases inspection speed and offers accuracy of ±0.0013 inch. When used in conjunction with Verisurf metrology software, the machine is fully programmable for repetitive measurement with single-point repeatability of 0.0009 inch.
Haase says the FaroArm accurately measures each part’s geometry design and tolerances, including the deviation from true position. In the past, this measurement was obtained by comparing feature position to three datums (A, B and C) using calipers, height gauges, micrometers and an inspection plate.
Today, UCS operators touch three points with the FaroArm to align the A datum, two points to align the B datum and one point to align the C datum. Verisurf then aligns the part to the model and highlights the points to be measured one after another.
The software uses best-fit algorithms to instantaneously compute the deviation. If data points are in tolerance, they are colored green on the screen. If they are within tolerance but approaching the limits, they are colored yellow. Points out of tolerance are colored red.
Because the machine provides results in real time, the operator can stop the inspection once a problem arises and begin making corrections. Van Der Griend says average inspection time per part is 30 minutes. Previously, it was 4 hours.
“We’re saving $200,000 per year by streamlining the process,” says Van Der Griend. “And we are generating additional revenues by winning jobs that require MBD or DPD inspection and validation.”
He says UCS likes that the FaroArm can be moved around very large parts and tooling to measure them. Also, young workers easily learn to operate the machine because they understand 3D models much better than blueprints.
For more information on portable coordinate measuring machines, call 800-736-0234 or visit www.faro.com.


