Preparing Metal Implants With Ultrasonic Cleaning
Much of the conversation around medical device cleanliness is about sanitation and sterilization. While both are important for eliminating potentially harmful microorganisms, medical devices also need to be cleaned prior to sterilization.
The purpose of cleaning medical devices prior to sterilization is to remove particulates and fluids that may have accumulated during machining and assembly. For devices made of stainless steel and titanium, such as joint implants, metal shavings can be stuck in holes or connecting points. Additionally, the oil used to cut and shape the implants must be removed prior to the next steps of production. These products will often be cleaned multiple times during assembly and before the product is sterilized.
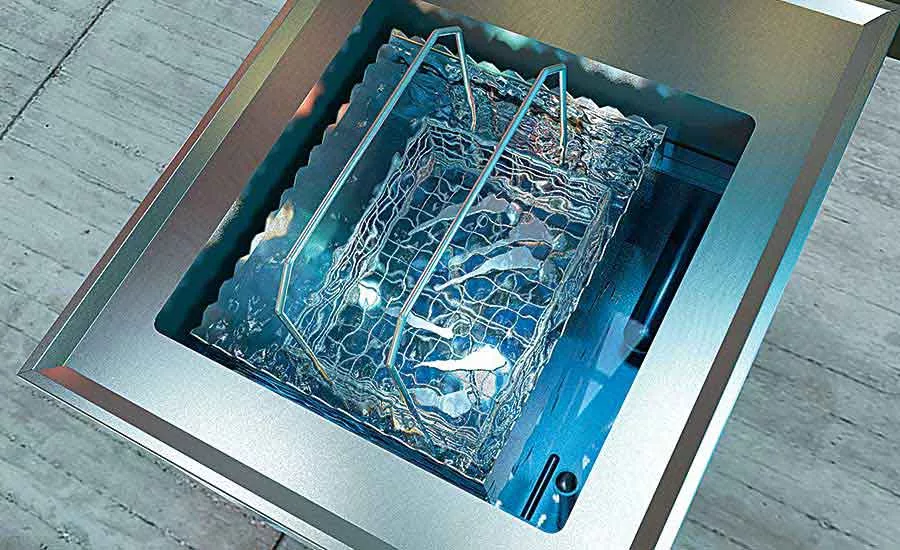
A common method for cleaning metal implants is ultrasonic cleaning. According to Mark Wedman, regional sales manager for precision cleaning at Emerson, ultrasonic cleaning has been the industry standard for decades. Ultrasonic cleaning uses a range of frequencies to create bubbles that remove contaminants from the surface of metal implants. The standard aqueous ultrasonic cleaning cycle is four steps:
- An ultrasonic aqueous wash with a cleaning chemistry and hot water. For the Branson line of ultrasonic cleaners from Emerson, the frequency of the wash is about 40 kilohertz.
- An ultrasonic rinse with deionized water.
- A second rinse. This is a cascading rinse that uses the highest quality water.
- A hot air dry.
The major differences in ultrasonic cleaning methods lie in the cleaning chemistry, says Wedman. Each manufacturer chooses a cleaning chemistry that is safe for the material of the part or device. Additionally, the cleaning chemistry must be suitable for removing machining fluids and particulates. For some materials, this step may be replaced with vapor degreasing in a solvent instead of a water-chemistry mixture.
The first rinse is an ultrasonic rinse with deionized water which attracts the particulates from the device. Some manufacturers will change frequency from each step to increase the cleaning power. Lower frequencies produce larger bubbles that offer a stronger clean. However, lower frequencies can damage certain materials and electronic elements Wedman warns.
The second rinse is the step in which the cleanliness of the device is verified. The cascading rinse with high-quality water allows for the water quality to be monitored. The part is rinsed over and over in this step until the water reaches the manufacturer’s desired level of purity. Wedman states that the industry standard is at least 1 megohm. This rinse is also important as it ensures that all of the harsh chemicals used in the wash are removed.
The water in the second rinse tank is tested using a resistivity sensor/monitor to confirm that water quality is adequate to remove all surface residues and contaminants and to achieve spot-free parts. Once the water from the second rinse shows that the part is clean, then it can be dried. The drying process is done with hot air to ensure that the part is completely dry before moving to the next step in assembly.
In addition to cleaning, some manufacturers may add a passivation process. The passivation step would follow the first ultrasonic rinse. In this step, the device is exposed to nitric or citric passivation which inhibits rusting. After this step, the device would go through a second ultrasonic rinse, followed by the cascading rinse and heated dry.
Ultrasonic cleaning allows manufacturers to collect data and track the cleanliness of the devices during and after assembly. This method of cleaning ensures that metal devices and implants are free of machining particulates that could be potentially hazardous to a patient’s health. For more information on ultrasonic cleaning, call (203)796-0400 or visit www.Emerson.com/Branson
Looking for quick answers on assembly and manufacturing topics? Try Ask ASM, our new smart AI search tool. Ask ASM
Looking for a reprint of this article?
From high-res PDFs to custom plaques, order your copy today!


