Automation University
Design for Robotic Assembly
Watching a SCARA robot quickly assemble several small plastic parts, it’s hard not to think of it as a person—a fast, accurate, tireless person, but a person nonetheless.
In reality, equating the abilities of robots and human assemblers is risky. What’s easy for a human assembler can be difficult or impossible for a robot, and vice versa. To ensure success with robotic assembly, engineers must adapt their parts, products and processes to the unique requirements of the robot.
Ideally, engineers should address the issues related to robotic assembly early in the design process. According to Thierry Dumont, director sales and product management for Bosch Rexroth Corp. in Schwieberdingen, Germany, building a robotic workcell is more difficult for a product that was originally assembled manually than it is for a product that was designed to be assembled automatically.
“It can be tricky, because the parts have not been designed for automation,” he says. “If we can work with the customer while he’s designing the product, we can build in features that may not add anything to the product itself, but can improve assembly quite a bit.”
Tom Reek, vice president of automation at gripper manufacturer SCHUNK, agrees. He says the best automation projects are those with well-defined parts and processes. The part design has been finalized, and the robot’s path from picking up the part to dropping it off has been determined.
“Problems develop when unknowns come into play,” he says. “For example, if we design a gripper to handle a part, but then the design changes. Now, suddenly, there’s a clearance problem or a feature on the surface that doesn’t allow us to get a proper grip on the part.
“Or, we might design a gripper to pick up the part in one orientation, but it comes out of the feeder in a different orientation that doesn’t allow us to grip the areas we had originally intended.
Looking for quick answers on assembly and manufacturing topics? Try Ask ASM, our new smart AI search tool. Ask ASM
“We also want to know where the part is going. If the robot is just taking a part out of an injection molding machine and dropping it into a bin, releasing the part is no big deal. But if, for example, the robot is inserting a connector into an assembly, we need to know what surfaces we can grip and how deep the assembly is.”
To ensure success with robotic assembly, engineers must adapt their parts, products and processes to the unique requirements of the robot. Photo courtesy Robert Bosch GmbH
Bottoms Up!
Many of the design guidelines for improving manual and mechanized assembly processes also apply to robotic assembly. For example, reducing the number of parts in a product will cut costs and increase process reliability regardless of the type of equipment used to assemble it.
Other guidelines are more specific to robots. For example, unlike human assemblers, most robots cannot hold a part in one hand and a tool in the other. Rather, SCARA and Cartesian robots are “one-handed,” and they can only move along three or four axes. As a result, products should be designed so they can be assembled in layers from the bottom up.
“If the product has not been designed for robotic assembly, you often see that it has to be accessed from multiple sides,” says Dumont. “You want everything to be accessible from the top.”
Reorienting an assembly adds cycle time without adding value. It also increases the cost of the fixtures. And, instead of a SCARA or Cartesian robot, assemblers may need a more expensive six-axis robot.
For similar reasons, parts should be designed to stay in place after they are installed by the robot. Better still, parts can be designed with snap fits, eliminating the need for fastening, welding or bonding later. In addition, because robots cannot move with the same repeatability as dedicated, “hard” automation, parts should have self-aligning features, such as lips or chamfers, to help the robot insert them.
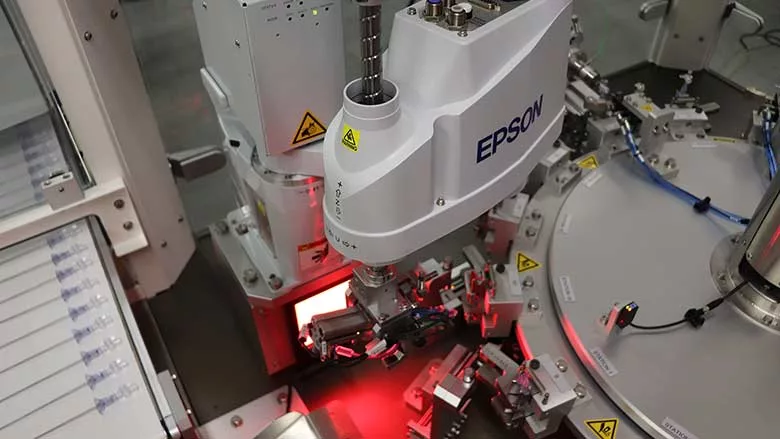
“One of the first things to consider when you’re designing an assembly is, ‘Do the components want to go together?’” says Phil Baratti, applications engineering manager with Epson Robots. “If you have to force parts to fit when they should just fall into place, then you can have trouble with automated assembly.”
Robotic grippers are not as nimble as human hands, and some parts are easier for robots to grip than others. A part with two parallel surfaces can be handled by a two-fingered gripper. A circular part can be handled by its outside edges, or, if it has a hole in the middle, its inside edges. Adding a small lip to a part can help a gripper reliably manipulate the part and increase the efficiency of the system. If the robot will handle more than one type of part, the parts should be designed so they can all be manipulated with the same gripper. A servo-driven gripper could also help in that situation, since engineers can program stroke length and gripping force.
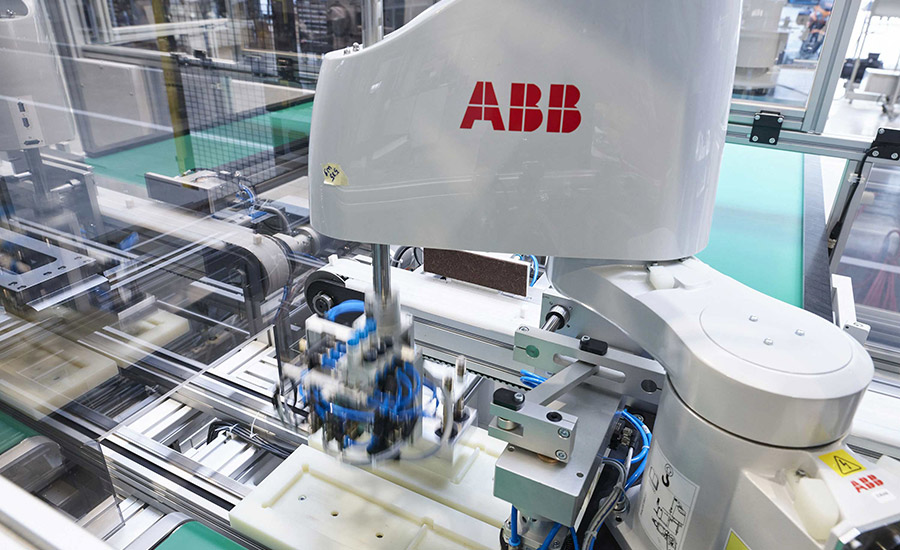
Robots are flexible, but that doesn’t necessarily mean they can compensate for inconsistent parts. Photo courtesy Cadcamatic
Often, the success of a robotic automation project comes down to the creativity and skill of the tooling designer, add Reek. He recalls working with a customer that needed a robot to pick up glass bottles.
“The customer wanted to grip the bottles by the neck, but each bottle had its own unique profile. You could make one gripper that could grip one bottle, but not one gripper that could grip all the bottles.
“We thought about using a tool changer, but the cycle time was too fast. Another option would have been to incorporate foam rubber or other compliant material into the gripper finger, but that doesn’t always work.
“Ultimately, we came up with a design that could do the job with one set of fingers. Several profiles were machined into each finger—one for each type of bottle. For successful automation, you must be able to grip and release a part correctly 100 percent of the time. Even one miss in 100 opportunities is a fail.”
The part material can also be a concern with robotic assembly. Flexible parts are less attractive for robotic handling, because they require special fixturing and grippers. Flexible parts are more difficult to feed, as well. Parts with cosmetic surfaces, or parts made of fragile materials, could be damaged by grippers.
How well the parts are made can also be an issue. “Robots are flexible. They can be changed to assemble different products. But that doesn’t necessarily mean they can compensate for inconsistent parts,” Baratti points out. “If you have one part that is manufactured to a tolerance of 0.01 inch and another part that is made to a tolerance of 0.005 inch, you’re going to have problems getting that product to assemble.”
Another consideration is how the parts will be fed and presented to the robot. Again, the design guidelines for improving any automated assembly process also apply to robotic processes. Parts to be supplied from vibratory feeders should be designed so they won’t tangle or overlap. Once the parts are in the output track, the robot should be able to pick up a part and insert it without any further manipulation.
If parts are delivered in trays, the parts should rest in the pockets in a consistent, stable position. The pockets should provide clearance for the gripper’s fingers, and, as with bowl feeders, the robot should be able to pick up a part and insert it without any further manipulation. Equipping the robot with a self-centering gripper will allow engineers to use less precise trays or fixtures.
Of course, one advantage of robotic assembly is that hard-tooled feeders may not even be necessary. Instead, parts can be delivered to the robot riding loosely on a conveyor. A vision system, mounted above the conveyor or on the robot arm, tells the robot where to find the parts and which ones are in the correct orientation.
However, if vision guidance is used, engineers should make sure the parts have a consistent visual appearance, advises Baratti. For example, engineers could add a boss or other feature to a double-sided part to help a vision system distinguish one side from another.
Which feeding method to choose—random parts on a conveyor vs. fixtured parts in a track or tray—depends on the application. The conveyor method is feasible if most of the parts in a random sample will lie naturally on the belt in the correct orientation. “It’s usually easier to have the parts fixtured, but that’s not to say that it will be less expensive in the end,” says Dumont.
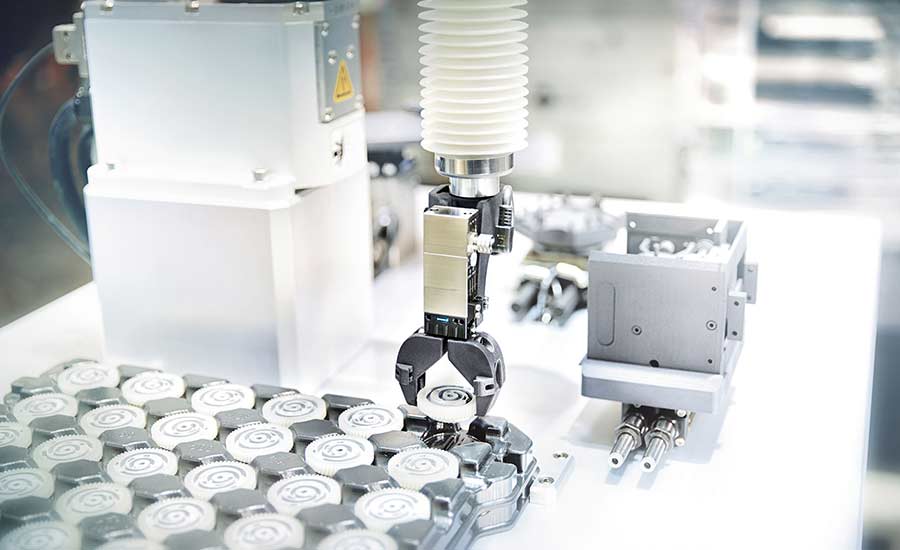
Often, the success of a robotic automation project comes down to the creativity and skill of the tooling designer. Photo courtesy SCHUNK
Designing the Cell
On manual assembly lines, it’s best to limit the number of operations each assembler performs. The same is true for robotic workcells. Theoretically, one robot could accomplish all the tasks necessary to assemble a small product from top to bottom. In practice, however, it’s almost impossible. As the number of operations performed by the robot increases, the cost of the cell increases and its reliability decreases.
“You want to group tasks together in a way that makes sense for the assembly process and for the robot,” says Dumont.
For example, if one set of parts can be handled with a vacuum cup and another set of parts can be handled with a gripper, it’s usually better to use two robots—one for each set of parts—rather than a single robot with two grippers and a tool changer. Time spent changing grippers is time spent not assembling product.
“If the assembly calls for two different pins to be inserted, the tooling and fixturing to handle those pins will be similar, so it’s not a stretch for the robot to handle both parts,” says Baratti. “However, if one part requires a vacuum cup and another requires a gripper, you don’t want the robot handling both. The more you tax the robot with completely different tasks, the less reliability you will get out of the machine.”
When specifying the robot, engineers should remember that the machine’s payload rating includes the weight of the parts as well as the gripper and tooling.
“Often, manufacturers don’t account for the weight of the gripper and tooling when they think about the payload of the robot,” says Reek. “They think it’s OK to move a 5-kilogram part with a robot that has a payload capacity of 7 kilograms, but they don’t realize that the gripper might weigh more than 2 kilograms.”
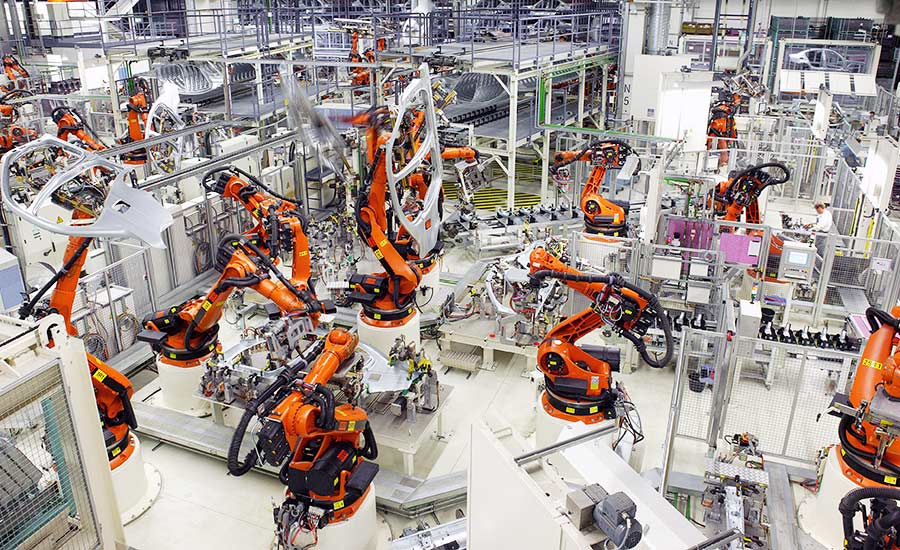
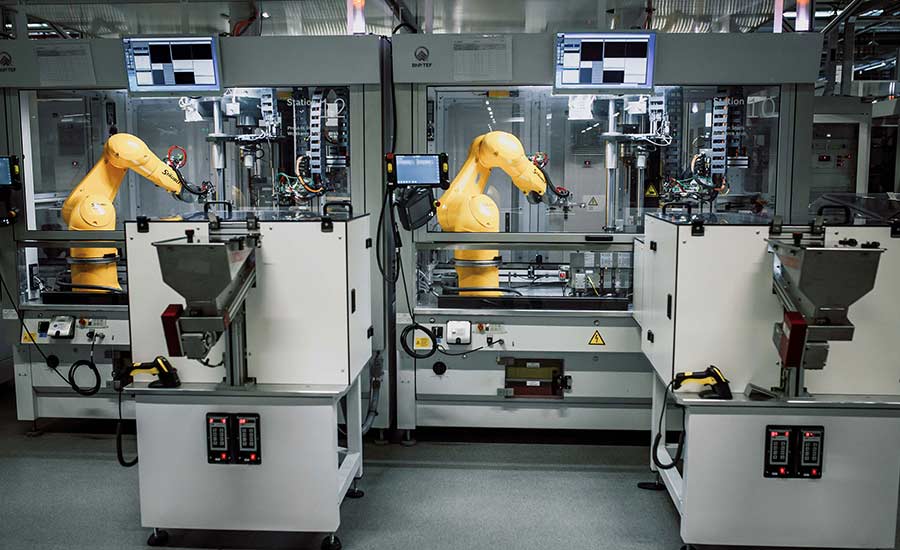
The best automation projects are those with well-defined parts and processes. The part design has been finalized, and the robot’s path from picking up the part to dropping it off has been determined. Photo courtesy Kuka AG
ASSEMBLY ONLINE
For more information on design for assembly, visit www.assemblymag.com to read these articles:
Ten Tips for Automated Assembly of Medical Devices
DFMA Cuts Costs Up Front
Design First, Lean Second: A Case Study
Looking for a reprint of this article?
From high-res PDFs to custom plaques, order your copy today!


